December 24, 2010

Happy Xmas !


Yup, it´s that time of year!
So, merry and cheerful Christmas to you all ! ! ! ! 

Hope you´ll all get what you want...

Try not to overdrive with booze and cakes :D


We know we  will...hehehehe!
 
Cheers!
Manufactorum crew
Perun/Izzy/Dredo

December 18, 2010

Base tutorial: making skull base


Materials:
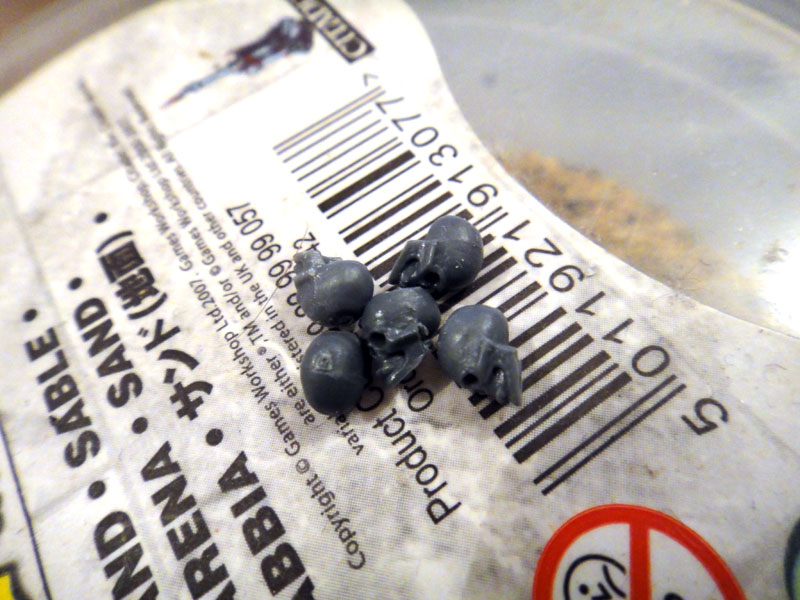
Skulls (obivously) =)
GW Scorched brown
GW Skull white
GW Bleached bone
GW Snakebite leather
GW Devlin mud wash
Standard brush
Brush for glue
Sand
Static grass
Drvofix or PVC glue
...and good game to play while you´re waiting for glue/paint to dry =)

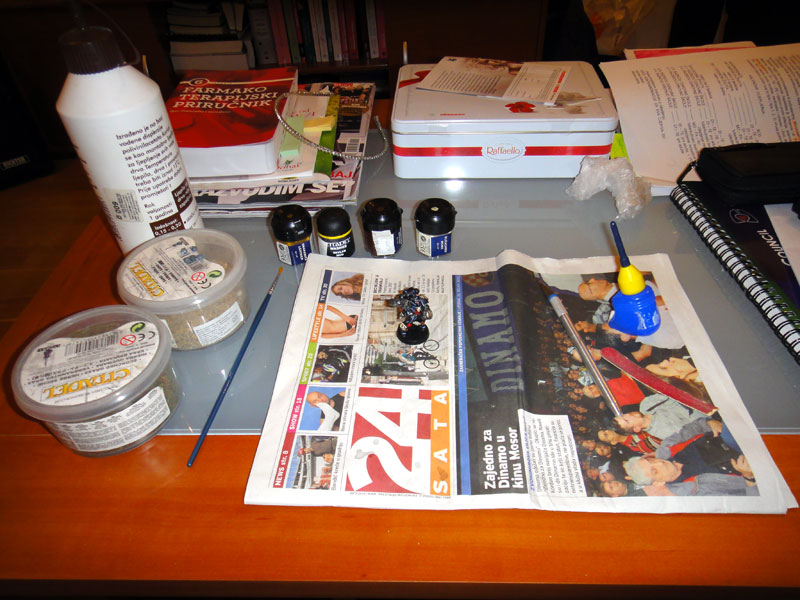
1. Materials


2. Glue skulls on base


3. Glue sand on base


4. Now....I've painted both sand and base with Scorched Brown as undercoat and skulls with Snakebite leather. After it dried, I drybrushed sand with snakebite leather and painted skulls with bleached bone.


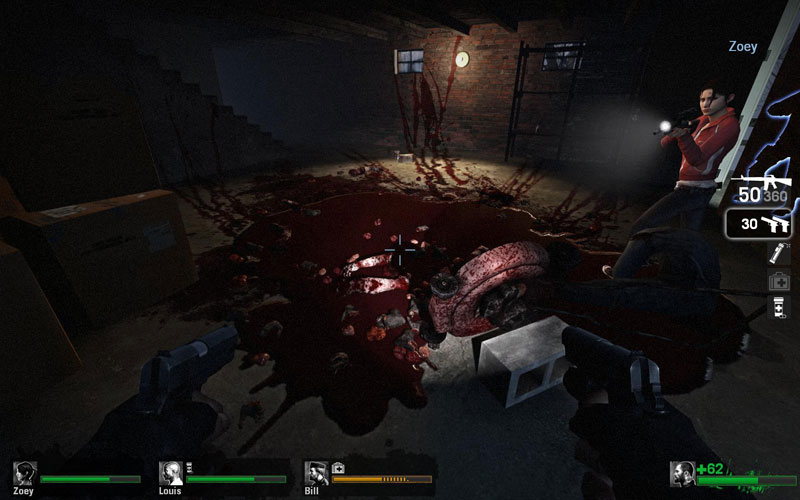
5. Weehaaaaw! Braindead scene :-D


6. When the paint dried, I washed the whole base with Devlan mud.

7. After the paint has dried, I drybrushed skulls AND sand with Bleached bone. For final touch I lightly drybrushed the whole base with Skull white.

8. After it was all dry I glued on some static grass with PVC/Drvofix glue.

9. And here it is...


Cheers!


December 7, 2010

Blood Angel Death Company list


Hey, hey, hey ! !

this is a Death Company list I´m thinking of playing. I call it "rhino rush DC" =).

HQ
Astorath
220 pts

Honour Guard 
jump packs
Power weapon
inferno pistol
Flamer
Chapter banner
230 pts

Reclusiarch 
130 pts

ELITES
3xChaplains 
300 pts

TROOPS
9x Death Company
Thunder hammer, Power weapon
225 pts
Rhino
dozer blade
55 pts

9x Death Company
Thunder hammer, Power weapon
225 pts
Rhino
dozer blade
55 pts

9x Death Company
Thunder hammer, Power weapon
225 pts
Rhino
dozer blade
55 pts

9x Death Company
Thunder hammer, Power weapon
225pts
Rhino
dozer blade
55 pts

TOTAL 2000 pts


Plan is to move 18 inches forward, pop up smokes and wait for next turn to rush out and charge everything in my way :)


Astorath is flying around with all-around Honour Guard and killing everything I see but......... I still need around 10 DC!

Now I have: 13 old models, 5 new models and 9 4th ed models...3 black rhinos (although I can use my BA rhinos and black Witch Hunters rhino :D ), must paint Astorath, 2 Chaplains and honour guard :D :D :D....yeah I know...only that! HA!

Looks like a fun list to play...no Heavy support, no ranged weapons so I think this list is total annihilation or crushing defeat :D :D :D

December 6, 2010

Incoming -Tyranids - Trygon


 -  It's Tyranid time....
 - Trygon at the back door, everything is all right; all he need is some direction...

December 4, 2010

Painting tutorial: Painting faces (simple tabletop quality)


Time for another tutorial, this time painting faces in five easy steps.

Paint you will need:
GW Bleached Bone
GW Skull White
GW Orgyn Flesh wash or GW Devlan Mud wash

So lets start:

1. Undercoat face with Skull White:


2. Paint the whole head with Bleached Bone:


3. Wash whole head with Ogryn Flesh or Devlan Mud:


4. Then drybrush with Bleached Bone:


5. Highlight with Skull White:


And thats that!
Takes about 10-20 minutes.
If you wish you can paint the eyes but its your call.

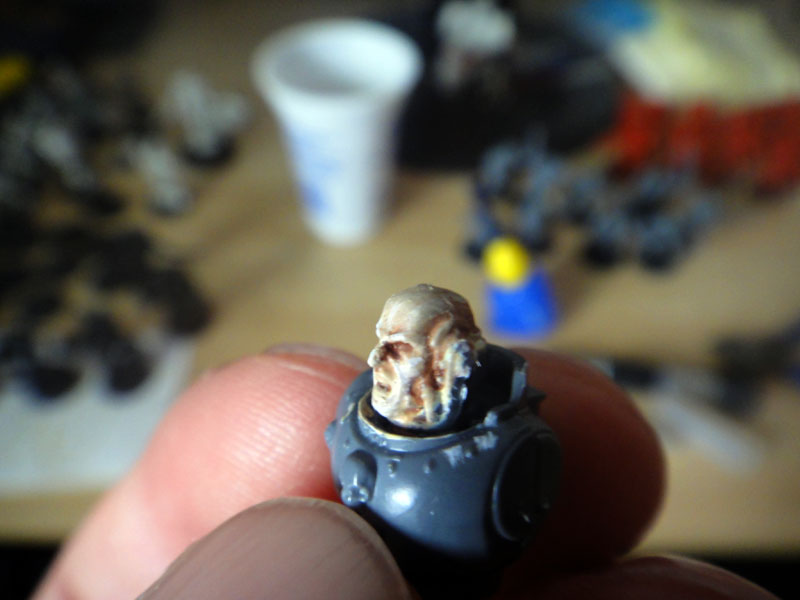
Here is my Blood Angel sarge painted with that techique:


Cheers :-D

October 14, 2010

Terrain tutorial: Making simple terrain - rocky hill

Ahoy there ! ! !

Today I'm going to show You how to make a rocky hill.

Material I will use:
Kapafix board (or stirodur as it is more commonly known) - 0.5, 2 and 3 cm thick
Real rocks cca 2 - 4 cm large (found in large quantities on tram line - watch out for the tram though : )  )
Real coarse gravel
GW sand or bird sand or cat sand
Drvofix or PVC glue
White and black colour (I use START acrylic paint - very cheap but just as good)
GW static grass
Scalpel
GW tank brush (or similar)
GW detail brush (or similar)
old newspaper
.
.
.
....and a girl who knows how to make delicious lasagna : )

so lets begin with preparation

1.first I'll determine the size od the terrain and cut away the kapafix

2.then I'll use the scalpel to cut away the terrain edges to make a slope and a basic appearance of the base (let it be uneven)


3.after that I'll take a thick kapafix whitch will be the basis of stone blocks andI'll cut away the edges on them too (let them also be uneven); when you cut out enough stone block put them on the base to get the approximate appearance of the terrain.


4. there are two ways to make authentic stone texture:
     1. scratch the surface with a scalpel
     2. you take a real rock and press it against the surface of the kapafix


5. the I'll position this kapafix on the terrain base on which it will stand

6. when the position is determined, I'll take a toothpick, break it in two and put one part on the base, coat it in PVC glue and put a stone block on it


7. after all block are on the base, place real rocks on the base to get 'real' weight and glue them with PVC glue. Put stone blocks one on another to get the desired hill effect. If you get some cracks, don't worry. Just fill them with PVC glue and put in coarse gravel.

8. let the PVC glue dry and see how the lasagna progress is going : )

9.  after the PVC glue has dried, undercoat the whole terrain with black spray. Undercoat every surface and don't worry if spray erodes the kapafix, it only contributes to the stone imitation.

10. mix black and white colour to get the grey hue

11. start painting : )


12. grey primer.......

13. after the grey has dried, add some more white into the mix to get an even lighter gray colour and start drybrushing the edges to get the desired effect

14. water down the black and wash the whole terrain (or use GW badab black wash)

15. at the end, highlight the stone edges with white...

16. after the paint has dried, next thing is putting on static grass. Mix PVC glue and water 40/60 and spread the mix on the surface. Sprinkle the static grass and shake off the excess....


17. use a detail brush and coat the mix on the desired stone blocks to imitate moss or grass. Sprinkle static grass and shake off the excess....


18. and the terrain is finished...even Lupino is happy : D
Paint the edges with desirable paint  (brown is great)

Static grass can be bought in every hobby store, brushes can be bought in every tool store........

This terrain was built with easily accesible materials......